mapplight.com / Guides / Wedding cake projection mapping
Wedding cake projection mapping: how to do it yourself
Updated 6 November 2026 · 6 minute read
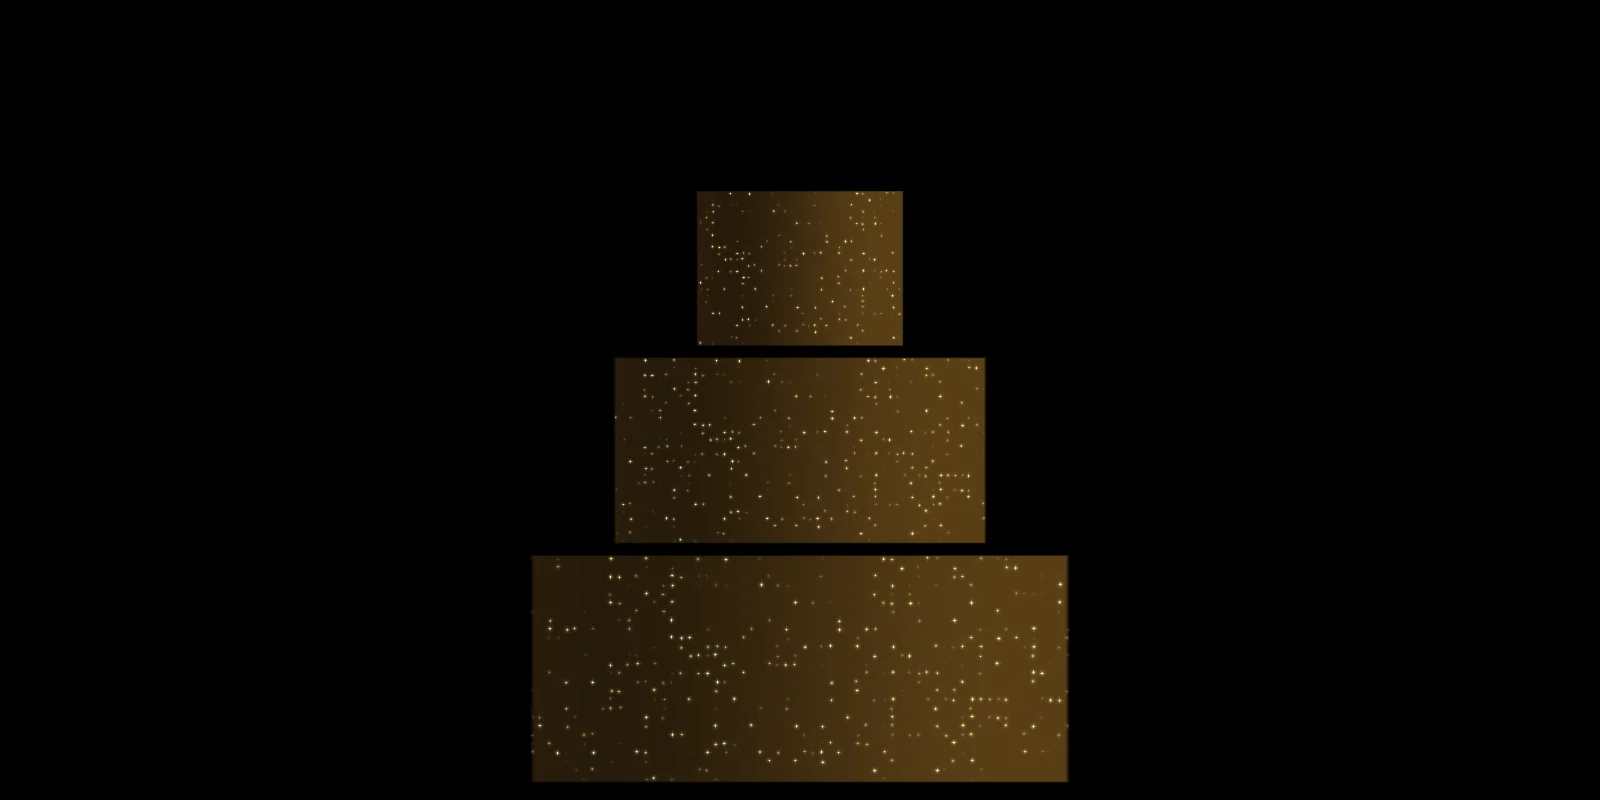
Cake projection mapping lights each tier of a plain white cake with its own moving pattern: gold glitter, falling petals, lace, the couple's initials or the colours of the room. Venues and planners charge hundreds for it, but the setup is small: one projector, one laptop or phone, and about thirty minutes before guests arrive.
1. Which cakes work
Projection adds light, so it can only brighten a surface, never darken it. The cake is your screen:
- White or ivory fondant is ideal. It is smooth and matte, so the picture stays sharp and colours stay true.
- Smooth buttercream works well. Textured or ruffled buttercream still glows, but fine detail gets lost in the ridges.
- Pale pastel cakes work, but tint every colour you project. Plan the visuals around the cake colour.
- Avoid dark chocolate, metallic leaf, mirror glaze and heavy flowers on the front. They absorb or reflect the light instead of showing it.
- Round or square tiers both work. Round tiers curve away from the projector, so the picture stretches a little at the sides; keep the important detail facing the front.
Tell the baker early. A plain front face with decorations at the back or on top gives you the cleanest result. Many bakers now make "projection cakes" on request.
2. What you need
- A small projector with HDMI. A cake is small and the room is usually dimmed, so 1,000–2,500 ANSI lumens is enough. A short-throw model helps if space is tight. See the projector buying guide.
- A laptop, phone or tablet to run the show. A laptop shows the editor on its own screen and the visuals on the projector; a phone or tablet needs an HDMI adapter (USB-C to HDMI, or Lightning to HDMI).
- A stable stand: a light stand with a tripod mount, a tall shelf, or a tabletop tripod on a separate table. Nobody should be able to knock it.
- An HDMI cable and power, taped down along the floor or the edge of the table.
- A dummy cake or a box for testing the night before, the same size as the real cake.
3. Where the projector goes
- In front and slightly above the cake, aimed down at it. This keeps guests' shadows off the cake when they gather for photos.
- Not behind the photographer's spot. Agree with the photographer where they will stand for the cake cutting and put the projector to one side of that line.
- Distance: work it out from the throw ratio. A three-tier cake about 40 cm (16 in) wide with a 1.2 throw ratio projector needs about 0.5 m (20 in) for the cake alone, but you will usually zoom out to cover the table, then map just the tiers. 1.5–3 m (5–10 ft) away is typical.
- Mask everything else. Mapping means only the tiers get light. The table, the wall and the guests stay dark, which is what makes it look like the cake itself is glowing.
4. Step-by-step setup with mapplight.com
- Open the app on your laptop or phone and add the Wedding cake template. It creates three tiers that move together, so you can drag the whole cake into place before fine-tuning each tier.
- Connect the projector as a second screen (extended, not mirrored). On a computer, click Projector and move the window onto the projector, then make it full screen. On a phone or tablet, connect the adapter and tap Go live.
- Switch off keystone correction on the projector and focus it on the front of the middle tier.
- Turn on the calibration grid and drag each tier's corners onto the real cake, watching the cake, not the screen. For round tiers, add a little width at the sides so the light wraps around the curve. Use the arrow keys to nudge by small steps.
- Lower the edge feather for crisp tier edges, or raise it slightly for a soft glow that hides small alignment errors.
- Pick a visual per tier and set the hue to the wedding colours. Glitter, Rose petals, Floating hearts and Gold stars are built for this.
- Save looks: for example "Reception" (slow, soft), "Cake cutting" (brighter, sparkling) and "Party" (beat-synced). Switching looks keeps the mapping and crossfades the content.
- Lock it down. Once mapped, don't touch the projector. If someone bumps it, turn the grid back on and nudge the corners back in a minute.
Do a full test the night before with a dummy cake or a stack of boxes of the same size at the venue, if they allow it. On the day, you only need to slide the mapping onto the real cake.
5. What to show
- Sparkle: Glitter or Gold stars in the wedding's accent colour. Simple, elegant, and it photographs well.
- Falling petals or hearts drifting down the tiers, each tier a slightly different shade.
- Your own video or image: a monogram, the couple's initials, lace patterns or a photo slideshow. Import MP4, WebM, JPG or PNG and put it on any tier.
- Colour that follows the music: once the dancing starts, beat-synced visuals pulse with the DJ through the microphone or a tapped tempo.
Keep backgrounds dark. A visual with a black background makes the cake look lit from within; a full bright fill just looks like a projector pointed at a cake.
6. Timing it with the evening
| Moment | Look |
|---|---|
| Guests arrive, dinner | A slow, soft glow in the room's colours, dimmed with the master dimmer |
| Cake reveal or cutting | Brighter: glitter or petals at full brightness; crossfade to it on cue |
| First dance | Hearts or a slow pulse; or blackout so all eyes are on the couple |
| Party | Beat-synced visuals, or auto-cycle through looks every few bars |
If you are a guest or a friend helping out, write the cues on a card and give someone the job of pressing the button. On a laptop, looks switch with one click.
7. Working with the venue
- Ask whether the room lights can be dimmed near the cake table. Spotlights on the cake wash out the projection.
- Check where the nearest power socket is and whether you can run a cable along the wall.
- Confirm the cake table position the day before and ask the venue not to move it after you map.
- Agree the plan with the planner, the photographer and the DJ, so the cake reveal and the music line up.
FAQ
Does projection mapping damage or warm the cake?
No. A projector a metre or more away delivers light, not noticeable heat. Keep the projector's own vents pointing away from the cake and don't place it on the cake table.
How bright does the projector need to be for a cake?
In a dimmed reception room, 1,000 to 2,500 ANSI lumens is plenty because the cake is small. Ignore "lumens" figures that are not ANSI or ISO, which can be several times higher than the real output.
Can I project the couple's names or a monogram?
Yes. Import a PNG or a short video with the names on a black background and put it on one tier. The rest of the cake can keep a matching sparkle.
Does it work on a round cake?
Yes. Map each round tier as a rectangle that covers its front face, slightly wider than the tier so the light wraps the curve. Detail at the far sides stretches a little, so keep names and monograms centred.
Can I run it from a phone?
Yes. Connect the phone to the projector with an HDMI adapter, open the app in the browser, map the tiers and tap Go live. A laptop is easier for switching looks during the evening.
Is it free?
The Wedding cake template is free, and Glitter, Floating hearts and Bokeh lights are among the 108 free visuals, with no watermark. Rose petals, Gold stars and Champagne are in the Pro packs, which cost $9.99 for 90 days or $49 once for life.
Keep reading
Stage backdrop projection
Project scenery onto a stage backdrop and set flats for a school play, church or community theatre: projector placement, avoiding shadows, cueing scenes, and a free setup.
Projection mapping for beginners
What projection mapping is, the gear you need, and a first project you can finish in an evening with any projector and a browser. Plain-language guide with no jargon.
Best projector for projection mapping
How to choose a projector for projection mapping: real ANSI lumens for each job, throw ratio and distance, laser vs lamp, inputs, and what to buy at each budget.