mapplight.com / Guides / House projection guide
How to projection map your house
Updated 6 November 2026 · 6 minute read
Projection mapping means shaping the picture to the house: each window, wall, door and roof line gets its own image, instead of one rectangle of video thrown over everything. This guide covers the hardware, where to put it, and a setup you can finish in an evening.
1. What you need
- A projector with an HDMI input. Brightness matters most; see the next section.
- A device to run the show: a laptop is easiest, because it can show the editor on its own screen and the light show on the projector. A phone or tablet works too, mirrored or connected with an HDMI adapter (USB-C to HDMI, or Lightning to HDMI on older iPhones).
- An HDMI cable long enough to reach from the device to the projector.
- Power outdoors: an outdoor-rated extension cord, plugged into a socket protected by a GFCI / RCD.
- A stable stand: a table, shelf or tripod. If the projector moves by a millimetre, the mapping moves by centimetres on the house.
- Optional: a weatherproof projector enclosure, and a white sheet or rear-projection film if you want to project on windows from inside.
2. Choosing a projector
This section covers house fronts. For stages, rooms and buildings, see the full projector buying guide.
Brightness
Brightness is measured in ANSI lumens. Be careful with cheap LED projectors advertising “9,000” or “12,000 lumens”: those numbers are not ANSI and are often five to ten times higher than the real output. Look for an ANSI or ISO 21118 figure from a known brand.
| What you're lighting | Rough brightness needed |
|---|---|
| One window, projecting from inside onto a sheet | 1,000–2,000 ANSI lumens |
| A garage door, on a dark street | 2,000–3,000 ANSI lumens |
| A whole house front, dark area | 3,000+ ANSI lumens |
| A whole house front, with street lights nearby | 4,000+ ANSI lumens |
Light walls (white or cream siding, render) reflect far more than dark brick or wood. On dark surfaces, move up a row in the table, or map smaller areas such as the windows and door only.
Resolution
Native 1080p (1920 × 1080) is plenty; from the street nobody can see more. “4K supported” on budget projectors usually means it accepts a 4K signal but shows less.
Throw ratio and distance
The throw ratio tells you how far back the projector must stand for a given picture width:
distance = throw ratio × picture width
| Throw ratio | 8 m (26 ft) house front | 5 m (16 ft) double garage door |
|---|---|---|
| 0.5 (short throw) | 4 m (13 ft) | 2.5 m (8 ft) |
| 1.2 | 9.6 m (31 ft) | 6 m (20 ft) |
| 1.5 (typical) | 12 m (39 ft) | 7.5 m (25 ft) |
| 2.0 | 16 m (52 ft) | 10 m (33 ft) |
Measure the space you actually have, from the house to where the projector can sit (often across the lawn or at the kerb), and pick a projector whose throw ratio fits. The manual or spec sheet lists it, sometimes as a range for zoom lenses.
Lamp, LED or laser
All three work. Laser projectors start instantly and hold their brightness for years, which suits a show that runs every night of the season. Lamp projectors are the cheapest per lumen.
3. Where to put it
- As central as you can. Mapping corrects any angle, but a projector far off to one side spreads pixels unevenly and makes the far side dimmer.
- Above head height if people walk in front of it, so their shadows don't land on the house.
- Protected from rain and dew. Most projectors are not weatherproof. Use an enclosure, a porch, a garage, or a car parked facing the house. Leave room for the fans to breathe.
- Inside, behind glass also works. Clean the window and turn off lights in the room, because the glass reflects some light back. Open the window if you can.
- Secure. Out of reach from the street, and tied down if it's windy.
4. Step-by-step setup with mapplight.com
- Wait for darkness and switch on the projector. Turn off its keystone and corner correction, and set its zoom so the picture covers everything you want to light.
- Focus the projector on the house itself, not on a closer object.
- Open mapplight.com/app on your laptop and connect the projector as a second screen (extended, not mirrored). Click Projector, drag the new window onto the projector screen, and make it full screen. On a phone or tablet, mirror the screen or connect the adapter, then tap Go live.
- Add the House front template (Templates). It creates walls, roof, door and two windows that already share corners.
- Turn on the calibration grid so every surface shows a grid test pattern on the house.
- Drag each corner onto the real edge, watching the house, not the screen. Welded corners move together. Use the arrow keys to nudge a selected point by small steps. Add surfaces for anything the template doesn't cover: a circle for a round window, a triangle for a gable.
- Turn the grid off and pick visuals for each surface from the library. Adjust hue, speed and brightness in the inspector.
- Save a look (Looks → Save current as look) for each theme, for example Halloween and Christmas. Switching looks keeps your mapping and changes only the content.
- Automate it: turn on auto-cycle to change looks every few seconds or every few bars of music. Set the computer never to sleep while plugged in.
Your project saves itself in the browser as you work. Use Export to keep a backup file.
5. Projecting on windows from inside
This is the easiest first project and needs only a modest projector. Hang a thin white sheet, shower curtain or rear-projection film tight against the inside of the glass. Put the projector inside, behind it, and map the panes with the Window template. Turn on the projector's rear projection mode, or the picture appears mirrored from the street. Ghosts in an upstairs window or candles in every pane look great from the pavement.
6. Making it look good
- Keep the background dark. Black is “no light” on a house, so visuals with dark backgrounds look like they belong to the building. Bright full-colour fills look like a projector.
- Busy on small, calm on large. Detailed visuals read best on windows and doors; slow ones like snowfall or aurora suit large walls.
- Mind the edges. Lower Edge feather for sharp window frames, raise it for soft glows on walls.
- Use the master dimmer. A slightly dimmer show often looks richer and is kinder to neighbours.
- Change looks slowly. A crossfade every 20 to 40 seconds feels like a show; every 3 seconds feels like a screensaver.
7. Neighbours and safety
- Never aim light where it can dazzle drivers or shine into neighbours' windows. Use Blackout if a car stops in the beam.
- Pick an off time, for example 10 pm, and stick to it.
- Check local rules or your homeowners' association if you're not sure what's allowed.
- Keep cables out of walkways and connections off wet ground.
8. Troubleshooting
| Problem | Fix |
|---|---|
| Picture is blurry | Focus on the wall itself. If edges stay soft at one side, the projector is at a steep angle; move it more central. |
| Colours look washed out | Too much ambient light or not enough lumens. Map smaller areas, wait until it's darker, or use visuals with dark backgrounds. |
| The mapping slid off the house | The projector moved. Fix it in place, turn on the calibration grid, and nudge the corners back. |
| Projector window opens on the wrong screen | Set displays to extend, drag the window to the projector, then go full screen. |
| Show stops after a while | The computer went to sleep. Turn off sleep while plugged in, and keep the device on power. |
Keep reading
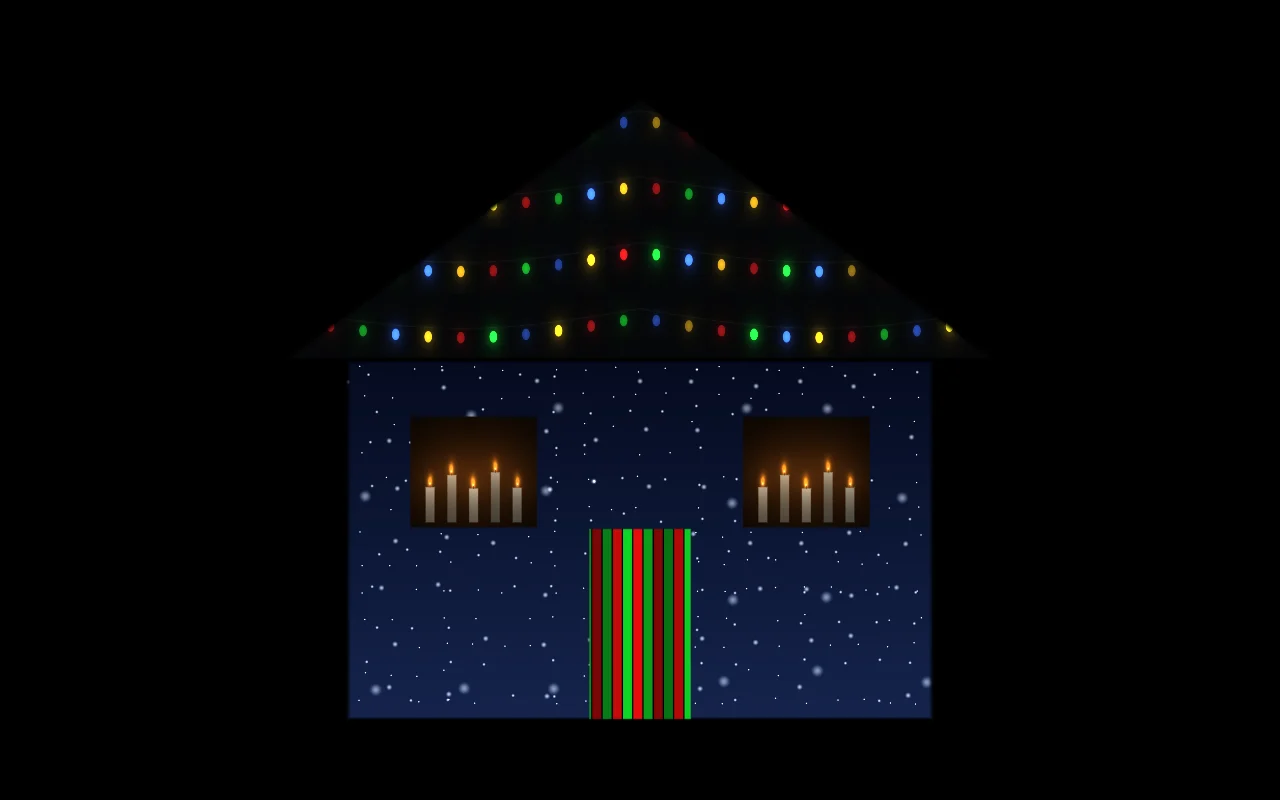
Christmas house projection
Christmas projection on your house: projector vs lights, mapping snow, candles and string lights onto the walls and windows, running it all season, and a New Year switch.
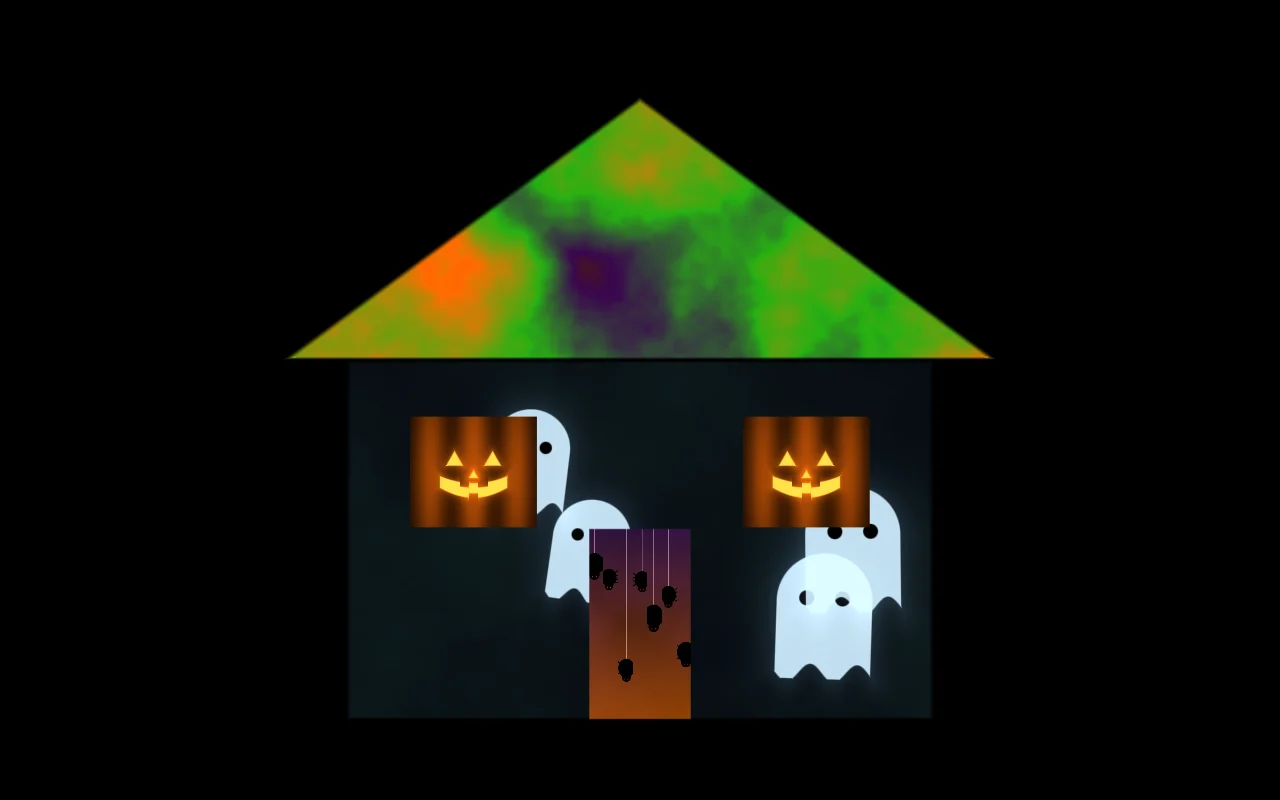
Halloween house projection
Ideas and setup for Halloween projection on your house: ghost windows, a haunted facade, which visuals scare from the street, and a timeline so it is ready by October 31.
Best projector for projection mapping
How to choose a projector for projection mapping: real ANSI lumens for each job, throw ratio and distance, laser vs lamp, inputs, and what to buy at each budget.